When I started writing, I didn’t do scene planning. I would get an idea for a scene in my head and feel compelled to immediately write it as if it might evaporate if I didn’t get it down on paper. After all, I told myself, I could always dress it up later. So, like a typical tourist returning from vacation, I would end up with a collection of stuff that would bore even my best friends.
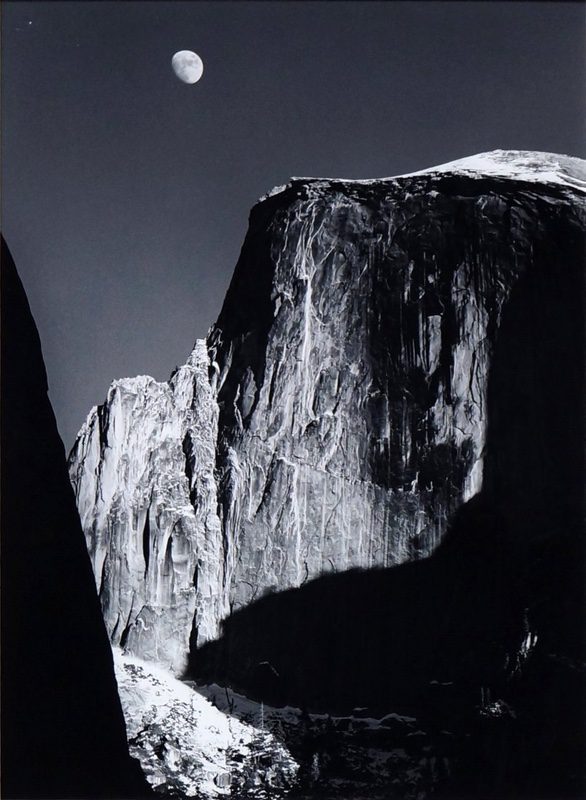
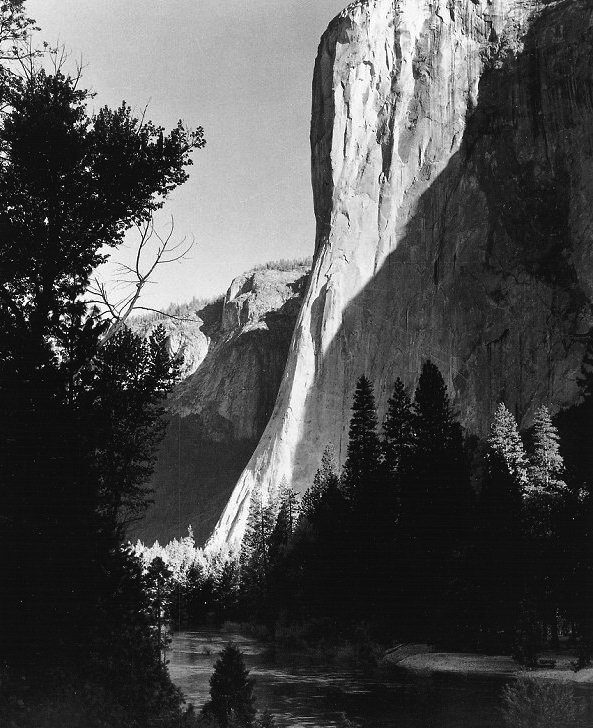
I have always admired Ansel Adams’ photography. I have a large prints of El Capitan and Half Dome in my office. I know from reading about him that he didn’t snap these images while casually hiking through Yosemite.

Each of these stunning photographs resulted from careful planning and expert execution. He made his most important decisions before taking each shot. He chose the camera, filters, and lenses best capable of capturing the scene. He selected the season, weather conditions, and the time of day that would give the best opportunity of creating the setting he visualized.
Most importantly, in advance, he scouted the place that would provide the ideal perspective for the shot he had in mind.
Ansel Adams called this process “Previsualization.”
I realized that writing a scene is a lot like photographing one. In both cases, the artist attempts to record an image and convey it to their audience. Extending that line of thinking, if I truly desired to master the arts of writing and storytelling, I needed to invest more time and energy into visualizing my scenes.
My scene planning inspiration
In my mind, I became Ansel Adams as a creative writer. What steps would he take before committing the first words of his scenes to paper?
I imagined Ansel Adams’ process for scene planning. He would hike the area first, studying his subject from various locations. He would view it from the left, right, and straight on, from a ridge high above and the valley below, from up close and far away, in the morning, noon, and evening light, under bright skies and storm clouds. I could see him sorting through these options until a clear image formed in his mind.
In this way, I sought to emulate Ansel Adams’s mastery of visual scene planning in composing my novels. Over time, I developed the scene planning process described below.
Start with a basic concept
BBefore you start, you need to have a basic concept of what happens in the scene. If you are a pantser, this might be an idea that came to you while eating breakfast. That’s the way I used to operate.
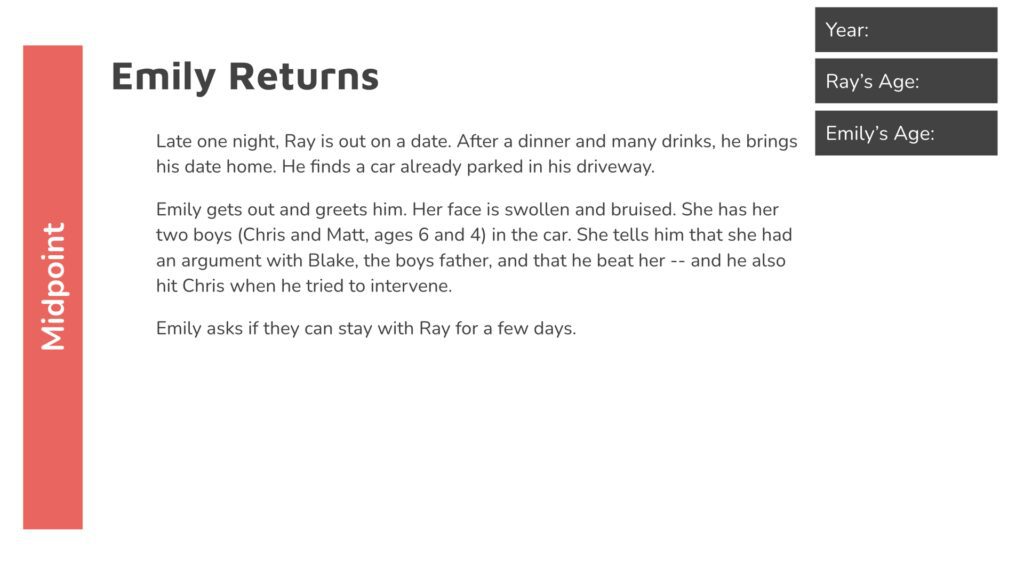
But now, I plan my plots by sketching out each scene on slides using bullet points. Here’s a sample of a scene from my current novel.
I start with a concept of what happens in the scene, but nothing is cast in concrete. When it comes time to write the scene, I may choose to implement it differently from my original plan.
The key is that you start with a concept for the scene.
Justify the scene’s existence.
Review the purposes the scene serves. Is it a tool to develop characters? Does it move the story forward? Is the intention to provide some answers or create more questions? Are we foreshadowing some future event? Dropping some gold nuggets for the reader? Cranking up the level of suspense?
If you can’t articulate the purpose the scene serves, then stop. You either don’t need it — or you need to revise the concept.
Review the scene from multiple POVs
Consider writing the scene from different points of view (POVs). In my plot plan, I usually have a POV in mind, but before writing, I imagine creating the scene from the perspective of as many characters as possible.
For the scene in the slide above, I ultimately decided to write the scene from Ray’s perspective because it created more drama and allowed me to share his thoughts with the reader, through which I could further develop his character.
Consider including or excluding different characters
The process of exploring the scene from the perspective of different characters allows me to consider which characters should take part in this scene. Often I will include characters I hadn’t sketched initially into the scene because it created something interesting.
Or I may choose to remove characters, as I did in the scene above. My initial plan included interaction between Ray and Emily’s sons. After considering multiple perspectives, I decided to have them sleeping in the car so the conversation between Ray and Emily could be rawer and I could ratchet up the tension.
Explore actions and reactions of various characters
The other benefit of looking at the scene from each character’s POV is to picture their inner thoughts and emotions as the scene unfolds. Then I consider each character’s potential actions and how other characters react.
I love it when, in my mind, a character does something I hadn’t expected that results in a completely different concept for the scene.
Decide where the scene takes place
Once I have a good idea of what the characters are thinking and doing, I explore the setting. My concept contained an idea of where the scene takes place. But are there other places that would be better? Should the action start in one place and move to others as the scene unfolds?
For example, even if the scene takes place over dinner at someone’s home, a side conversation could occur on the patio, down a hall, in a bathroom, or a bedroom. Each of these creates a different dynamic.
Develop a detailed picture of the setting
Once I’ve selected the location, some details need to be visualized. Specificity brings scenes to life. If I am inside, how are the rooms decorated? What unique objects can I describe that will paint the scene? If I am outside, there are a more comprehensive array of things to observe and weather conditions to consider.
When I think I have a solid grasp on the setting, I visualize it through the eyes of the character whose POV I have chosen. With their unique personality, would they see things differently? What background sounds would they notice? What do they smell? Do they reach out and touch things? If so, I imagine the texture and temperature. If there are other people present, how does my character perceive them?
Perhaps most important, I picture how all of this makes my character feel.
Find a creative way to open the scene
When I think I’ve got the scene fleshed out in my mind, I consider how to open the scene.
Where is the camera? Do I start close up? Perhaps focusing on the tear in the corner of someone’s eye and slowly pulling the camera back? Or would the scene work best if I had the camera way back and then zoomed in on my characters? Or something in between?
In the scene I described above, I decided to open with Ray out on a date with the office manager of his business. He’s bringing her to his home for the first time. I showed them engaging in a bit of foreplay in the car. That way, when they arrive to find Emily and her boys in Ray’s driveway, it creates more tension, especially since the office manager knows Emily is Ray’s ex-girlfriend.
Decide where to the scene will end
My final step is to decide where to end the scene. I often find a way to leave the reader hanging, so they feel compelled to turn the page.
Summary
While this sounds like a huge undertaking, it usually takes about fifteen minutes to use these steps to create a vivid image of the scene in my mind. This is time well spent because the words flow easily once I start to write, the resulting scenes rich in detail, and my first drafts need little revision. This is what works for me.
Do you have a different process or additional ideas to offer? If so, share them below. If you feel this is over the top and prefer writing from the seat of your pants, feel free to tell me that, too.
Comments
Related Posts

Six Steps to Maximize Writing Productivity
Six steps to take before launching a writing session that will prevent writer’s block and significantly improve your productivity.

How To Make Your Posts Facebook Friendly
You compose posts that are interesting and informative. You want people to read and share them. But have taken time to make your posts Facebook friendly?

Interview: Terri Giuliano Long
Terri Giuliano Long, author of In Leah’s Wake, shares her experiences in writing and self-publishing her debut novel. She offers insight and recommendations for other authors considering self-publishing.

Condense a Novel into One-Page Synopsis
Sooner or later you will need to condense your entire novel down to a one-page synopsis. For novelists, it’s a herculean task. Here’s how I did it.


0 Comments